In a nutshell, that’s the basics. To expand on that just a little more, there are two methods you can use. The first one is the preferred method.
1st (preferred) method:
- Use the BBM to make the additions and edits to your project; save the project;
- Ensure that the new SD card is not locked;
- As long as you are not changing the version or updating the BeatBuddy pedal’s firmware, there’s no need to add the firmware files to the SD card;
- Use the BBM to File > Export > Project to SD card;
- Check the SD card using the Finder (Mac) or Windows Explorer to verify that the card has your project contents;
- Once the card arrives at the BB pedal location, if you have a remote (external) foot switch, run the pedal detector and reset all of the pedal settings.
2d method:
- Use the BBM to make the additions and edits to your project; save the project;
- Ensure that the new SD card is not locked;
- As long as you are not changing the version or updating the BeatBuddy pedal’s firmware, there’s no need to add the firmware files to the SD card;
- Quit the BBM; important that you do so;
- Navigate to the location of your project on your computer; for example, I’ve highlighted the contents of the project I want on my SD card
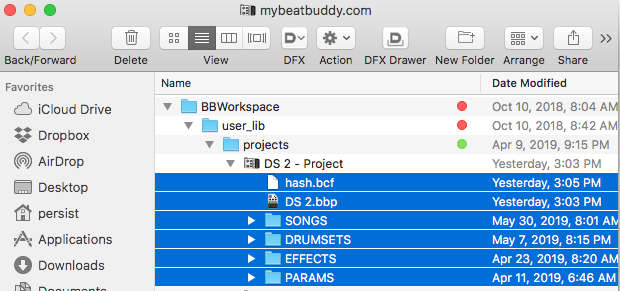
- Copy and paste the highlighted contents (not the enclosing folder) to your SD card;
- Check the SD card using the Finder (Mac) or Windows Explorer to verify that the card has your project contents;
- Once the card arrives at the BB pedal location, if you have a remote (external) foot switch, run the pedal detector and reset all of the pedal settings.